by Jessica Burko of
Reclaimed To You
Over the years I have increasingly utilized encaustic medium in my mixed-media artwork.
Basic encaustic is a combination of beeswax and
damar resin. Artists who paint with encaustic add pigments to create a full palette of color. Encaustic is applied to an artwork in a fully melted state, a liquid, and becomes a solid as the surface cools.
Because my artwork is photo based collage, I use encaustic without added pigment to fuse paper to surface, and paper to paper.

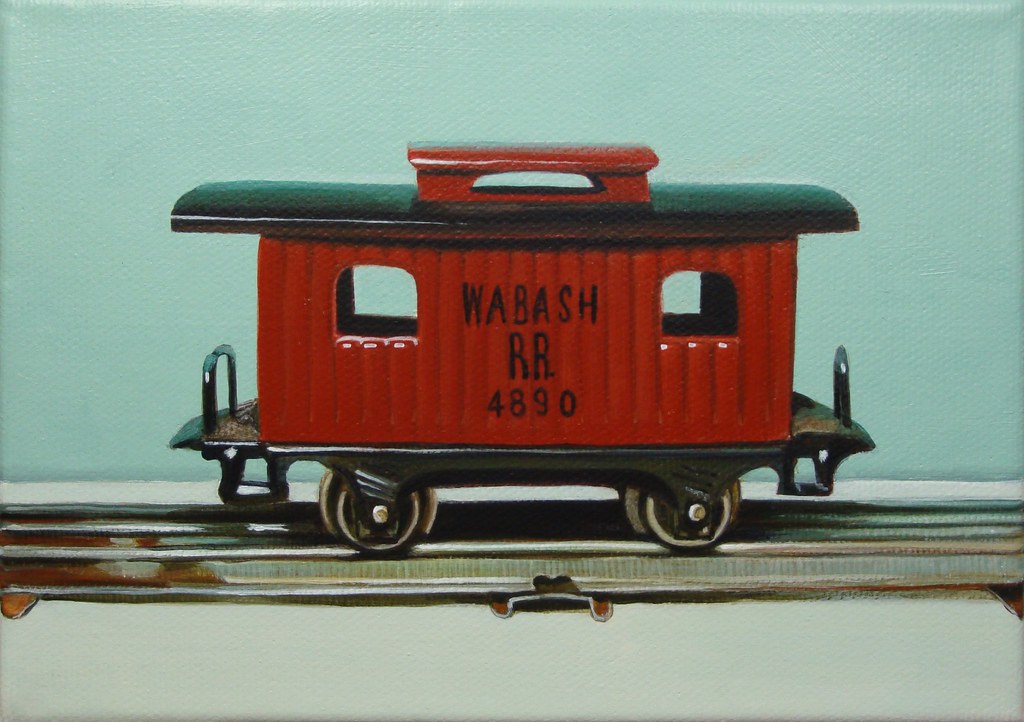
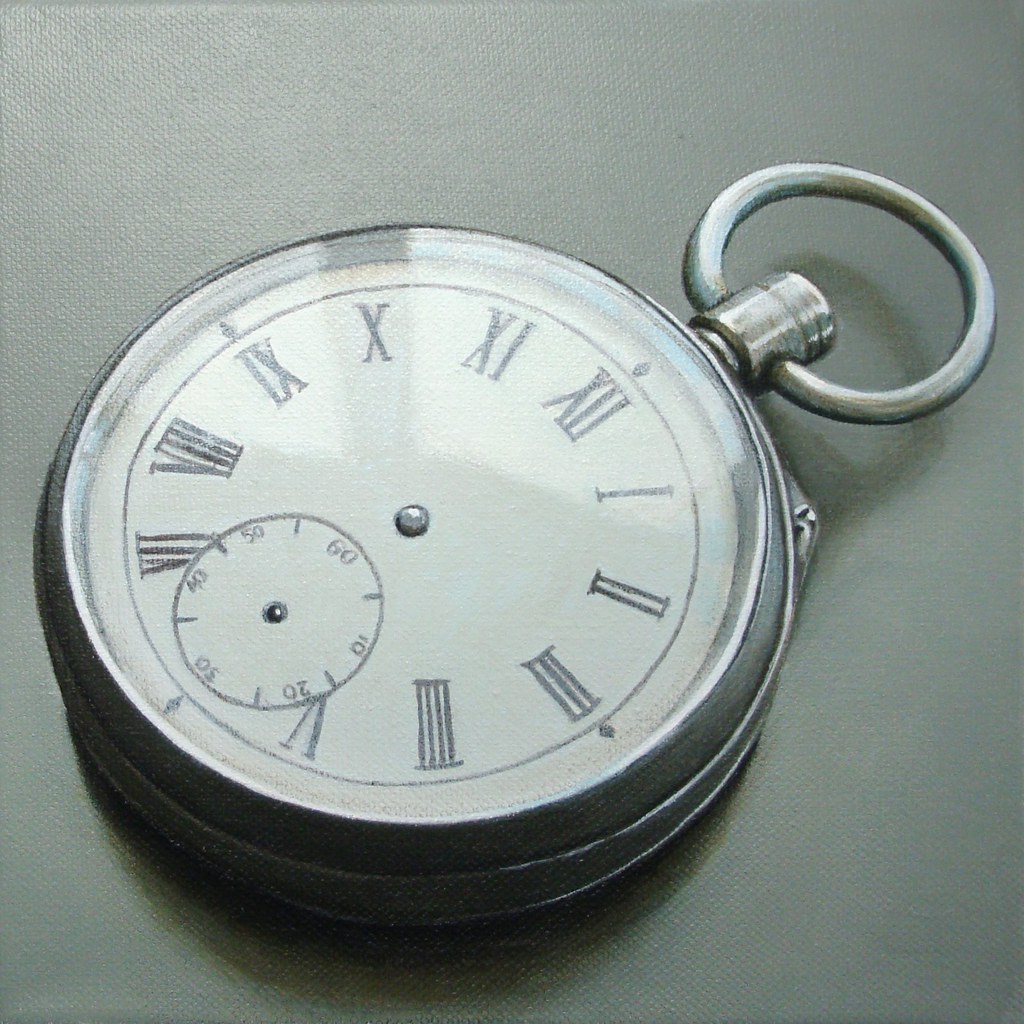
In my creative process I combine found paper elements, clip art, vintage paper, and original photography. After I've developed the subject matter of a new piece, I prime a wooden panel to begin my college process.
The panels I use are either plywood remnants or
wooden canvases. I first paint the panel white; two coats total: one coat in one direction, let it dry, then I lightly sand the surface, and then I paint a coat in the other direction. Not a purist, I use any paint I have available. Most recently I have been using flat interior wall paint.
After the panel is painted I make sure to have an ample supply of un-pigmented encaustic on hand. I make my encaustic by melting approximately 85% raw,
white beeswax with approximately 15% damar resin. My studio is pretty bare bones; I use baking tins for mixing my encaustic, and I melt on an
electric griddle using brushes with natural bristles.

The next step I take is to paint the primed panel with a solid coat of encaustic.
For either paper fusing or image transfer, it's important to have a smooth base surface. To achieve maximum smoothness I paint on a coat of encaustic and as it cools I re-heat the surface to both fuse where the wax overlaps itself, and to smooth surface texture created by brush strokes.
Recently I purchased a
heat gun which makes this process fairly quick. However, previously I used a super hot hair drier and that worked too, it just took more time.
This is an especially important step for encaustic image transfer. Without a smooth surface your images will not transfer evenly.

Once your surface is fully prepared you can begin to transfer your images.
I have found that transfers with the best image quality come from black and white or color photocopies made from high contrast images. I've also made successful image transfers using vintage print, though this is rather a hit or miss prospect.
Before beginning the transfer it's helpful to warm up the surface. Onto the warm, smooth encaustic surface, place a photocopy, image-side down, and burnish evenly. You could use an actual
burnishing tool, or use a solid table spoon like I do.
More important than what specific tool you use is that you apply even and strong pressure to all areas of the photocopy. Circular motion works best. The pressure actually integrates the ink into the encaustic which remains there after the paper backing is removed.

The paper is removed from the now transferred image by simply soaking it off with plain water.
I use pieces of an old, clean hand towel, and soak them in a bowl of room temperature water. I find that it's helpful to have a few small cloths handy so a clean one is always available.

Soak the back of the burnished photocopy with water, while gently rubbing away the paper. Go slowly.
What is left after the paper is removed is the ink from your image, transferred onto your encaustic surface.
To fuse your transferred image, and to magically make any white paper remnants disappear, lightly go over your image with your heat gun or hair dryer.
Please keep in mind that the method described in this blog post is how I create image transfers as part of my encaustic collages. As with most artistic techniques, there are many variations out there in the world. As you experiment with encaustic and transferring images I encourage you to research other techniques and find your own best working method. Here are a few things to keep in mind when using any encaustic technique:
• Ventilate your space.
• Have all your materials on hand before you begin working.
• Molten wax is hot! Take appropriate precautions.
• Enjoy and have fun!

 There will be an art reception this Thursday, January 19th from 5 pm to 7 pm at Artists Crossing for their latest featured artist, painter Diana Sironi, who creates a variety of artwork from antique wallpaper, egg tempera and oil paint. Using methods learned from local artists and abroad, her pieces represent New England and the world. You can find her from spring through fall at art fairs around the Boston area. Her artwork is in private collections in Europe, Asia and the United States. She lives in Peabody, MA with her husband Eric and her dog Doonie Doodles. For more info on this work and the gallery visit www.ArtistsCrossingBoston.com.